Embroidered Pleather Purse
-Brother Sews Blogger
I have made this small purse before with stiff felt, but a friend recently gave me some lovely pleather. I thought that with a little embroidery, it would make an adorable purse. My pattern is small in size so it’s a perfect handmade purse for kids, but you can use this idea on a large bag pattern if you want to size it up.
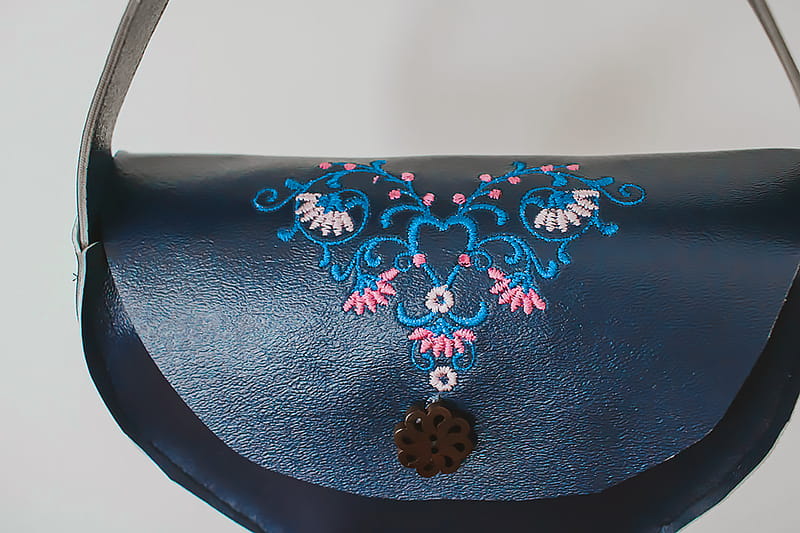
This handmade pleather purse also has a cute button closure. I love sewing with pleather, as you don’t have to finish the raw edges.
Embroidered Pleather Purse Supplies
-Purse Pattern {I used the small purse here}
-Scraps of pleather {a friend recovered some chairs and passed me her leftovers}
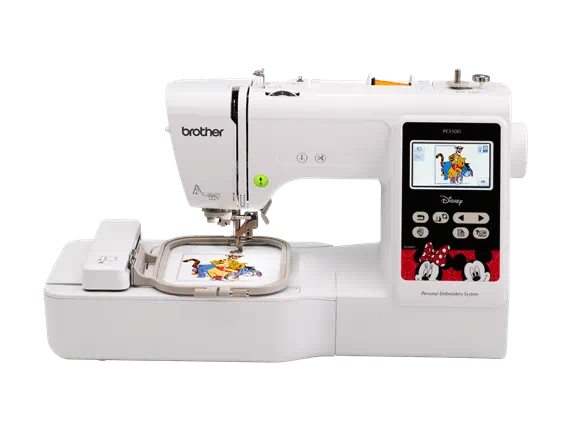
-Embroidery Design {the flowers are built into my Essence 5200}
-1” button for closure
-Sticky Stabilizer Tip: Cut away stabilizer is generally preferred for faux leather
-Brother sewing machine that can embroider
Start with the embroidery. Make sure you have a piece of pleather as big as the bag front. I started with a rectangle.
Put sticky stabilizer in your embroidery hoop. I do not advise to hoop the pleather, as it can distort the material or scratch off the surface.
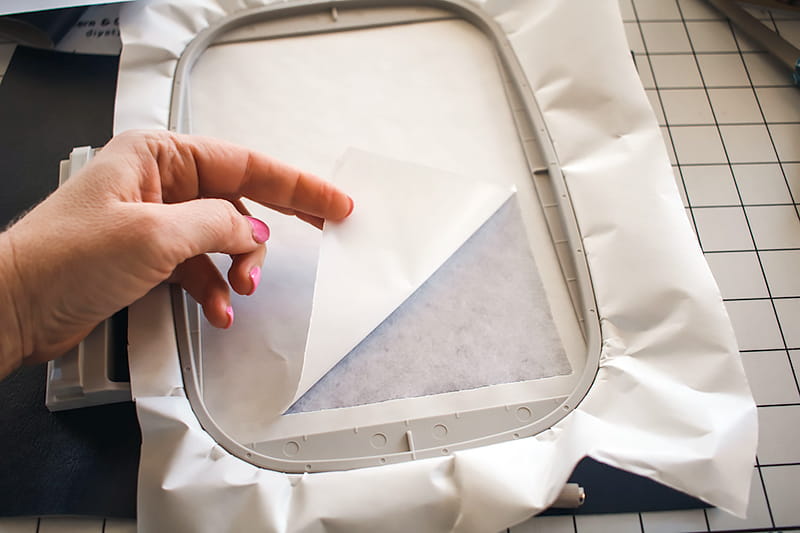
Stick the short end of the pleather rectangle to the sticky hoop.
I drew on my purse pattern to make sure that I had the embroidery design correctly placed and orientated.
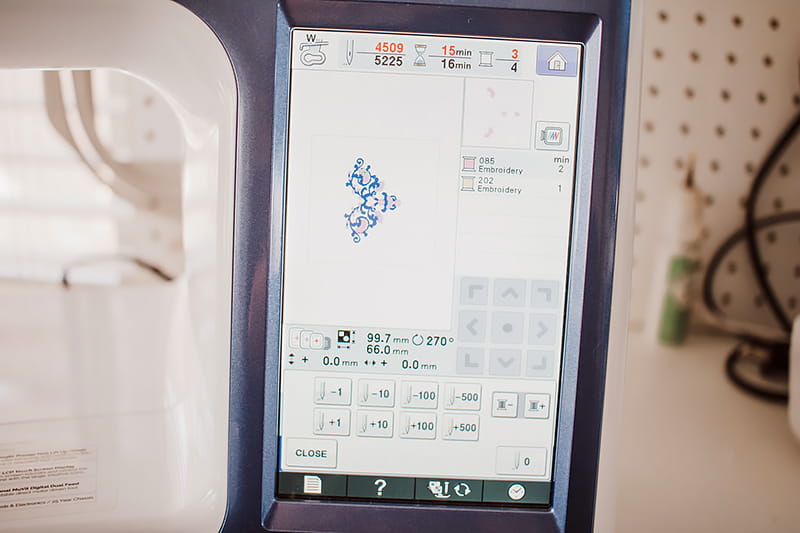
Find the embroidery design you want to add and place the hoop in the sewing machine. Again, I double checked that the design was going to be placed just like I wanted. I rotated the design and made sure it was centered on my pleather.
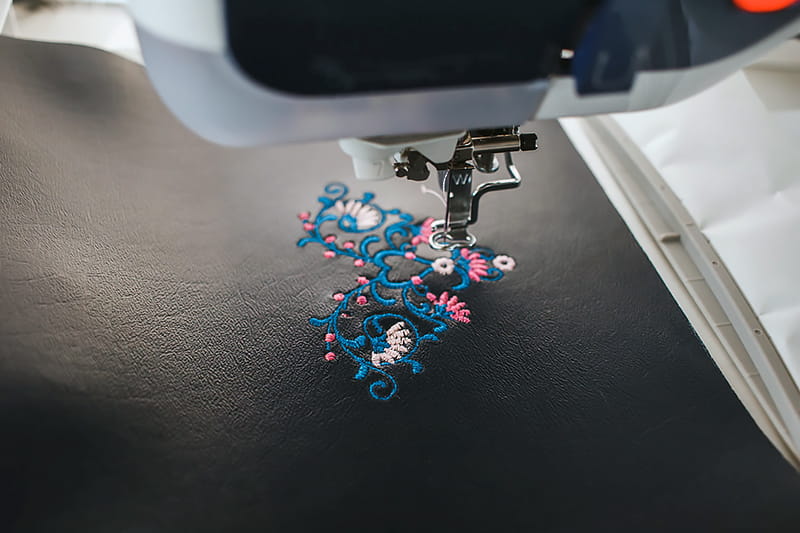
Remove the paper pattern and begin the embroidery. Check the tension and speed as you get started. I used a leather needle for this embroidery and slowed the speed down to 600 spm.
Tip: 75/11 embroidery needle will also work well. Always want to use a sharp needle with a fine point so that the perforations in faux leather will be small.

When the embroidery is finished, remove the hoop from the machine.


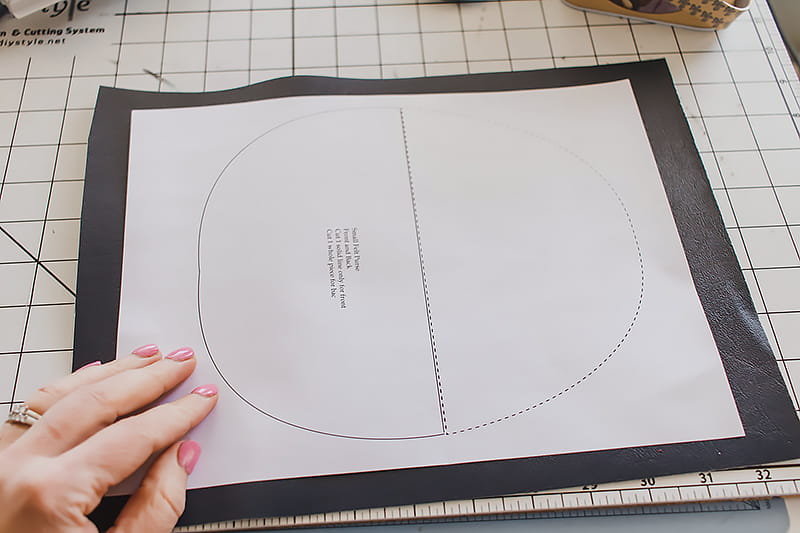
Now cut out the purse from the rectangle so we can begin sewing. I folded the pattern in half and centered the placement on the embroidery. Open the pattern to fully cut the shape.

The raw edges will be exposed, so make sure to smooth any cut marks now.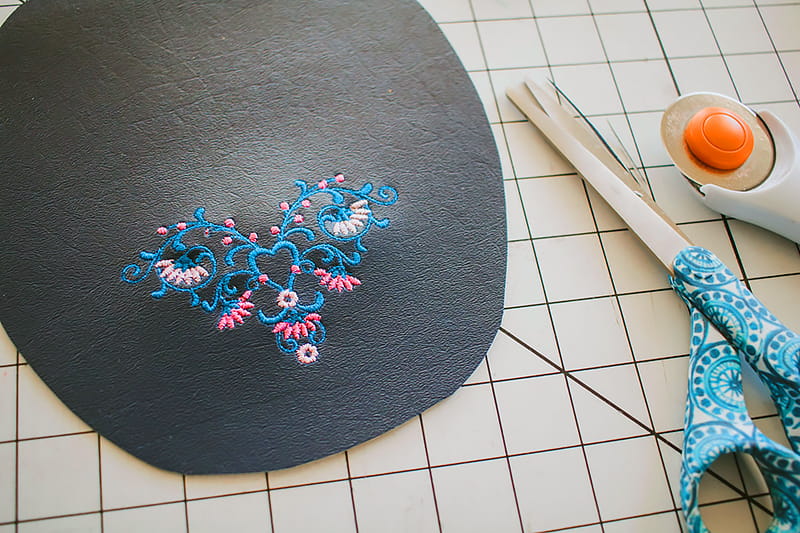
Cut the pattern in half to create the other side of the purse and the back of the embroidery.
Use the top part to create a back for the embroidery. I used a fabric glue to attach. You could also use matching thread to stitch around and keep in place.
Next, cut out all of the other pieces as directed on the pattern.
Sew two handles together with right sides out and sew very close to the edge to secure the two pieces together.
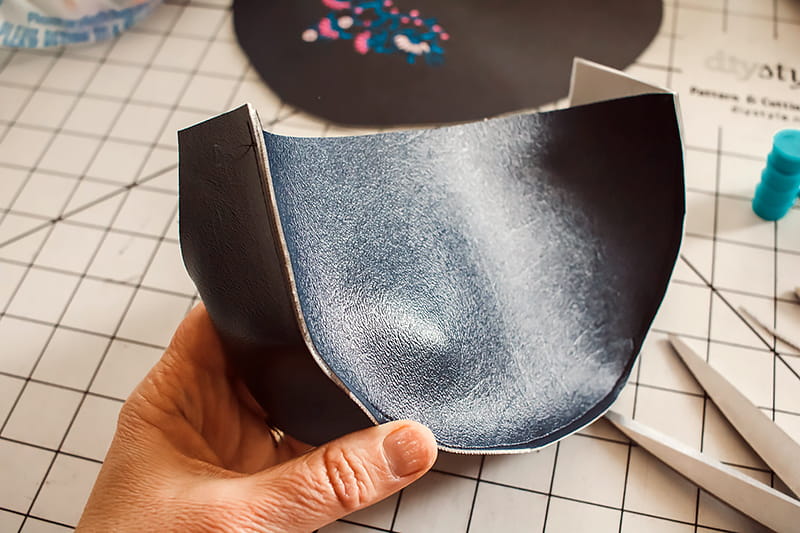
Match the center of the side strip with the center of the front piece.


Here is the side sewed to the front of the bag. Trim any raw edges that are rough.
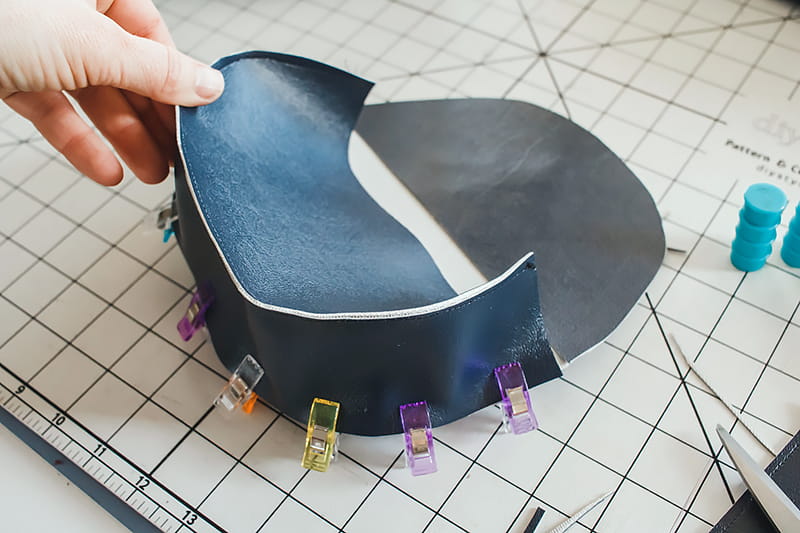
Match the center of the side strip to the center of the back side. {you want to attach it to the end that does not have the embroidery}
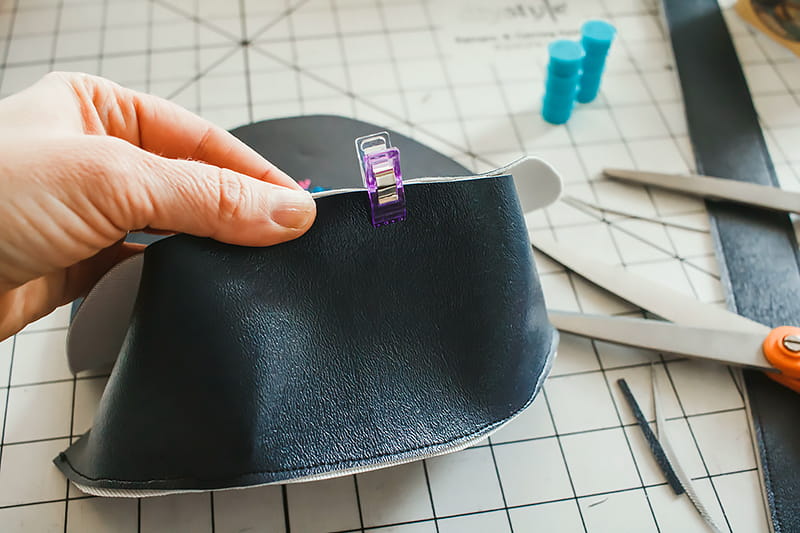
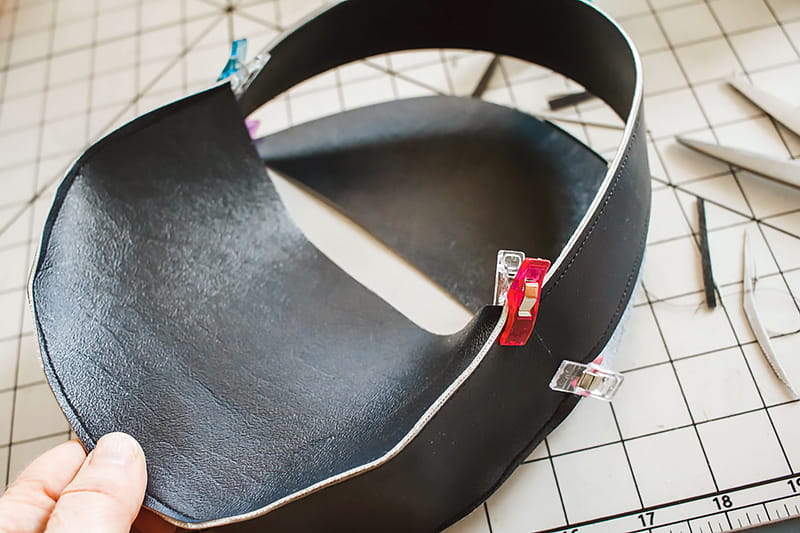
Continue clipping around until the whole side is lined up.
Sew just as you did the front. Attach the straps on either side. Sew across the side strip.
Cut a buttonhole on the front flap.
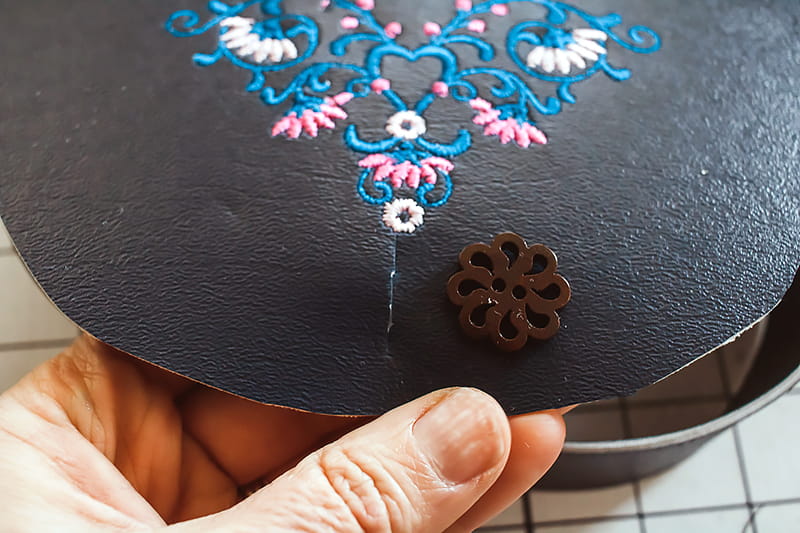
Fold the flap over and mark where to sew the button. Attach to the front of the purse.

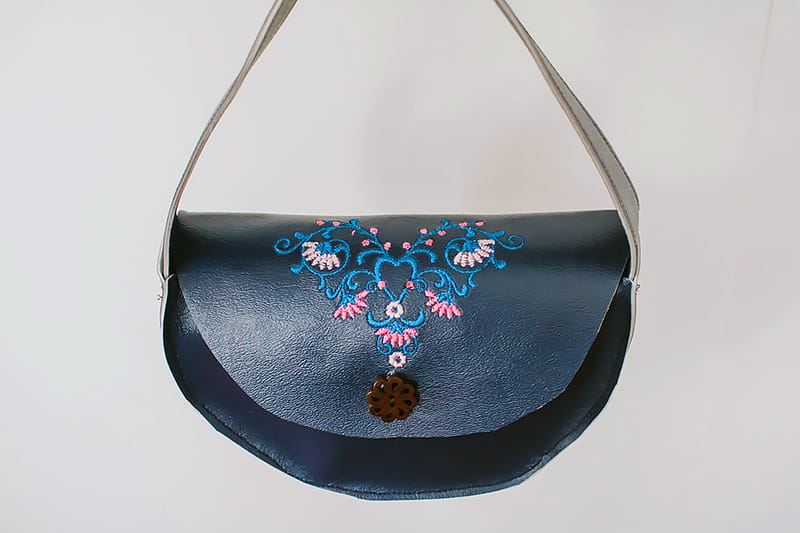
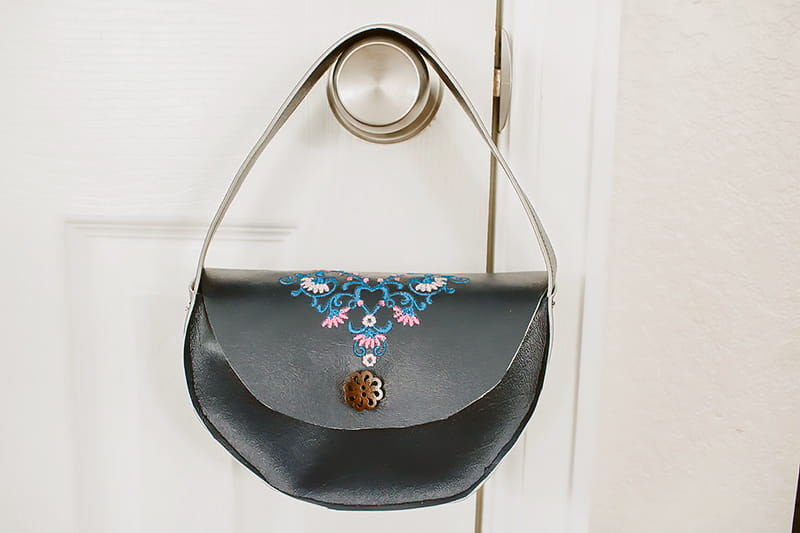
You did it! You crafted an adorable DIY pleather purse for your little one. This bag makes an amazing gift and is both cute and useful. Enjoy!

Tags
Shop for this Project
No sewing machine? No problem! Any products mentioned in this project are available to buy and listed below so you can stay stitching.