:max_bytes(150000):strip_icc()/spruce-crafts-header-illo-1fcc1cb416554246b2063d9fe26fb24f.png)
How to Embroider on Leather
:max_bytes(150000):strip_icc()/MollieJohanson-fc7e70e224544781b74708d692e21d00.jpg)
:max_bytes(150000):strip_icc()/LeatherEmbroideryCardCase1-5bdceba2c9e77c0051e5e800.jpg)
The Spruce / Mollie Johanson
Think embroidering on leather is too difficult? This tutorial will show you how easy it is. Soon you'll be stitching on all your favorite leather items. You can even get started right away by making a leather card case.
Similar to embroidering on wood, the secret to hand stitching leather lies in pre-poking the holes. Once you do that, the embroidery is easy.
:max_bytes(150000):strip_icc()/LeatherEmbroideryCardCase2-5bdceb8bc9e77c005159b617.jpg)
The Spruce / Mollie Johanson
What You'll Need
Equipment / Tools
- Ruler
- Sharp scissors
- Tracing paper and pen
- Large and medium embroidery needles
Materials
- Leather
- Embroidery floss
- Suede cording
- Pattern or simple design
- Thread conditioner (optional, but helpful)
Instructions
-
Cut the Leather
Mark the back of the leather with cutting lines. For a card case with ample room for money, gift cards, or credit or debit cards, start with a 4.25" x 8.5" rectangle. Use sharp scissors to cut the leather.
Round the two corners at one end.
Fold the leather into the case formation with the non-rounded end folding in first. It should be a little over 1/3 of the way in so that when the rounded end folds over, it's not even with the opposite edge.
![Leather and scissors]()
The Spruce / Mollie Johanson
-
Mark the Pattern on the Leather
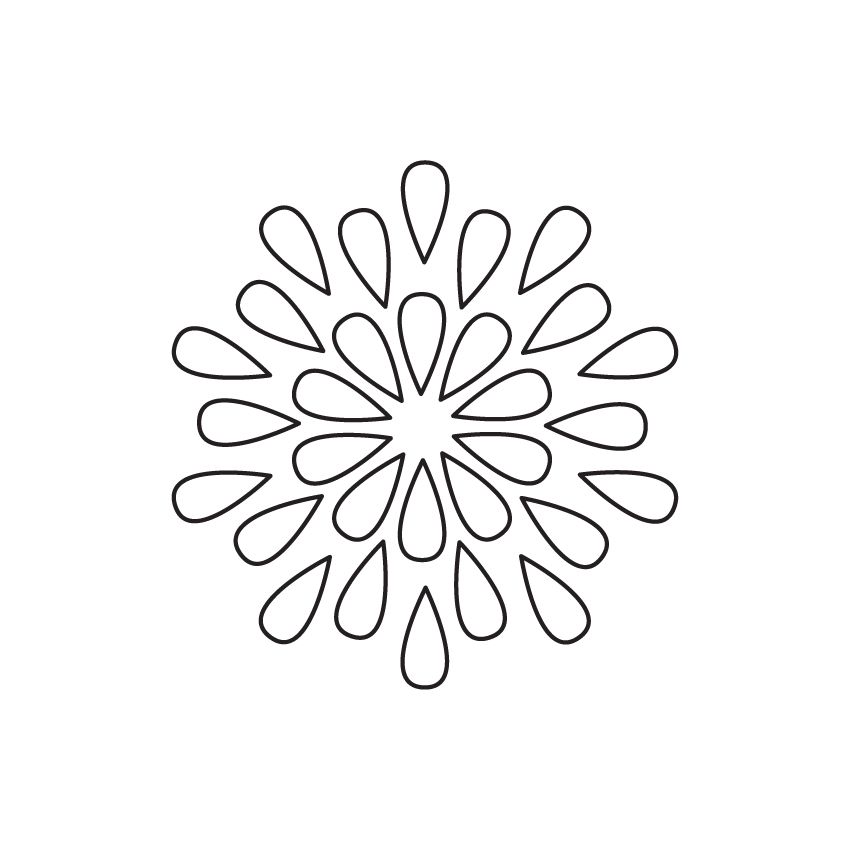
When embroidering on leather, it helps to work with a simple pattern like the flower burst embroidery pattern used here. The fewer holes you have to make for stitching, the easier it is.
Trace your pattern onto tracing paper and position it where you want it on the leather. In the sample, the embroidery will show on the back and wrap around to the front a little.
Use a large, sharp embroidery needle to poke through the tracing paper and the leather at each point where the needle should pass through. In this case, the stitches are detached chain stitches, so you would need a hole at the top and bottom of each petal shape.
![Leather and embroider pattern]()
The Spruce / Mollie Johanson
-
Enlarge the Marked Holes
When you remove the tracing paper, you should be able to see each of the other marked holes, however, they might be tricky to work with still. Leather often holds tight and doesn't make it easy to make these holes.
With the tracing paper set aside, use the needle to enlarge the holes so they are easier to find as you stitch.
You can use an awl to make larger holes, which is helpful if you want to embroider with something thicker, such as Perle cotton, but a needle works great.
![Leather with embroidery holes]()
The Spruce / Mollie Johanson
-
Embroider Through the Leather
Unless you made large holes, use three strands of embroidery floss for the best results. Run the embroidery floss through a thread conditioner to protect it as you work through the leather. Poke the needle through from the front to the back one more time before you try to find the pre-punched hole from the back. Then, follow basic embroidery instructions according to the stitches required for your design.
![Embroidery needle poking through leather]()
The Spruce / Mollie Johanson
-
Measure and Mark the Holes for the Side Seams
When you finish the embroidery, fold the leather into the card case shape again. Mark holes a quarter inch from the edge and from each other using a ruler and the large needle.
Repeat this on the back of the card case and then again on the opposite edge, both front and back.
![Ruler over leather]()
The Spruce / Mollie Johanson
-
Sew the Sides of the Card Case Together
To secure the sides of the card case together, stitch through the marked holes with a double running stitch. Start at the top of the opening with the first line of running stitch and then go back along the line, filling in the gaps. It helps to use a thread conditioner for this step as well.
![Stitched seam in leather]()
The Spruce / Mollie Johanson
-
Attach the Cord to the Flap
Cut two tiny slits in the flap of the card case, centered and parallel to the edge.
Cut a 24-inch piece of suede cord and tie a doubled knot in one end. Slide the other end through the slits in the flap, then tie a doubled knot in the other end of the cord.
![Cord attached to leather]()
The Spruce / Mollie Johanson
-
Wrap the Cord Around the Case to Hold It Closed
To secure the flap of the card case, wrap the cord around the case several times. Tuck the knotted end under the wrapping to hold it in place.
![Cord wrapped around leather case]()
The Spruce / Mollie Johanson
:max_bytes(150000):strip_icc()/LeatherEmbroideryCardCase3-5bdceb72c9e77c0051e5e0aa-6244c44ea0f94e3da377a61aa15bc49d.jpg)
:max_bytes(150000):strip_icc()/LeatherEmbroideryCardCase4-5bdceb5e46e0fb00519c55d2-cab4a46fe6ee4b7a8d27366a9296a2af.jpg)
:max_bytes(150000):strip_icc()/LeatherEmbroideryCardCase5-5bdceb3f46e0fb002656c734-00493d8d131b4cbba5bd5496ecb4cc1c.jpg)
:max_bytes(150000):strip_icc()/LeatherEmbroideryCardCase6-5bdceb08c9e77c00260b0ee3-0b5341b209e44f78b24f2d379cd8fa6c.jpg)
:max_bytes(150000):strip_icc()/LeatherEmbroideryCardCase7-5bdceaf1c9e77c00515997ff-3daa7eb94e13436186b30628e35df8da.jpg)
:max_bytes(150000):strip_icc()/LeatherEmbroideryCardCase8-5bdcead546e0fb002656b4af-c9de6495ff9940fd9e7aa17e02d65197.jpg)
:max_bytes(150000):strip_icc()/LeatherEmbroideryCardCase9-5bdceab646e0fb00519c390b-4c5d0df215ba4173ac0d57b323613594.jpg)
:max_bytes(150000):strip_icc()/LeatherEmbroideryCardCase10-5bdcea8846e0fb00262b1a38-06646e68d5774a159d3faaf03c052b8c.jpg)
Use Your Card Case or Give It With a Gift Card
:max_bytes(150000):strip_icc()/LeatherEmbroideryCardCase11-5bdcea1ac9e77c0051e5a5ea.jpg)
The Spruce / Mollie Johanson
This case is useful for holding a little cash and a few cards. Because it's leather, it will even stretch a little over time if you want to use it to hold a lot. It's also a great way to present gift cards with a bit of handmade style.
:max_bytes(150000):strip_icc()/GettyImages-183742644-5810b6705f9b58564c26d9a4.jpg)
:max_bytes(150000):strip_icc()/Pompoms1-5af1fce8ba617700365aca2b.jpg)
:max_bytes(150000):strip_icc()/BackstitchHandSewing1-5a78cf1e04d1cf003781d692.jpg)
:max_bytes(150000):strip_icc()/T-ShirtEmbroidery1-59050b8b5f9b5810dcca8634.jpg)
:max_bytes(150000):strip_icc()/RibbonEmbroidery1-57a920e13df78cf4596c2f95.jpg)
:max_bytes(150000):strip_icc()/sewing-accessories---fabric-1270236217-ccc5ed9b9a914f9896db67a9406d55c9.jpg)
:max_bytes(150000):strip_icc()/EmbroideringOnPaper1-579106885f9b58cdf3c5463a.jpg)
:max_bytes(150000):strip_icc()/DiceBag1-588a38e33df78caebcf3ebee.jpg)
:max_bytes(150000):strip_icc()/wrap_bracelet_main_w_button_2-58a692f55f9b58a3c9c52ef5.jpg)
:max_bytes(150000):strip_icc()/EmbroideryProjects_FlamingoToes-31113dc542b84886b79c482d59c8ac6c.jpg)
:max_bytes(150000):strip_icc()/NeedleBook1-56bd43e43df78c0b13813892.jpg)
:max_bytes(150000):strip_icc()/DenimEmbroidery1-57e969985f9b586c35af25aa.jpg)
:max_bytes(150000):strip_icc()/FeltPatches5-573ca7735f9b58723dfbbcf7.jpg)
:max_bytes(150000):strip_icc()/StitchingOnKnitware1-569e7b703df78cafda9d90dd.jpg)
:max_bytes(150000):strip_icc()/StretchedCanvasEmbroidery1-5ada053b119fa80036a85d98.jpg)
:max_bytes(150000):strip_icc()/step10-give-73c477601c244ce087452a93a1c7e654.jpg)